Request Your Custom Quote
Tell us what you need. Our team normally replies within one business day.
How to Make a Box Template: By Hand or Digitally
 By
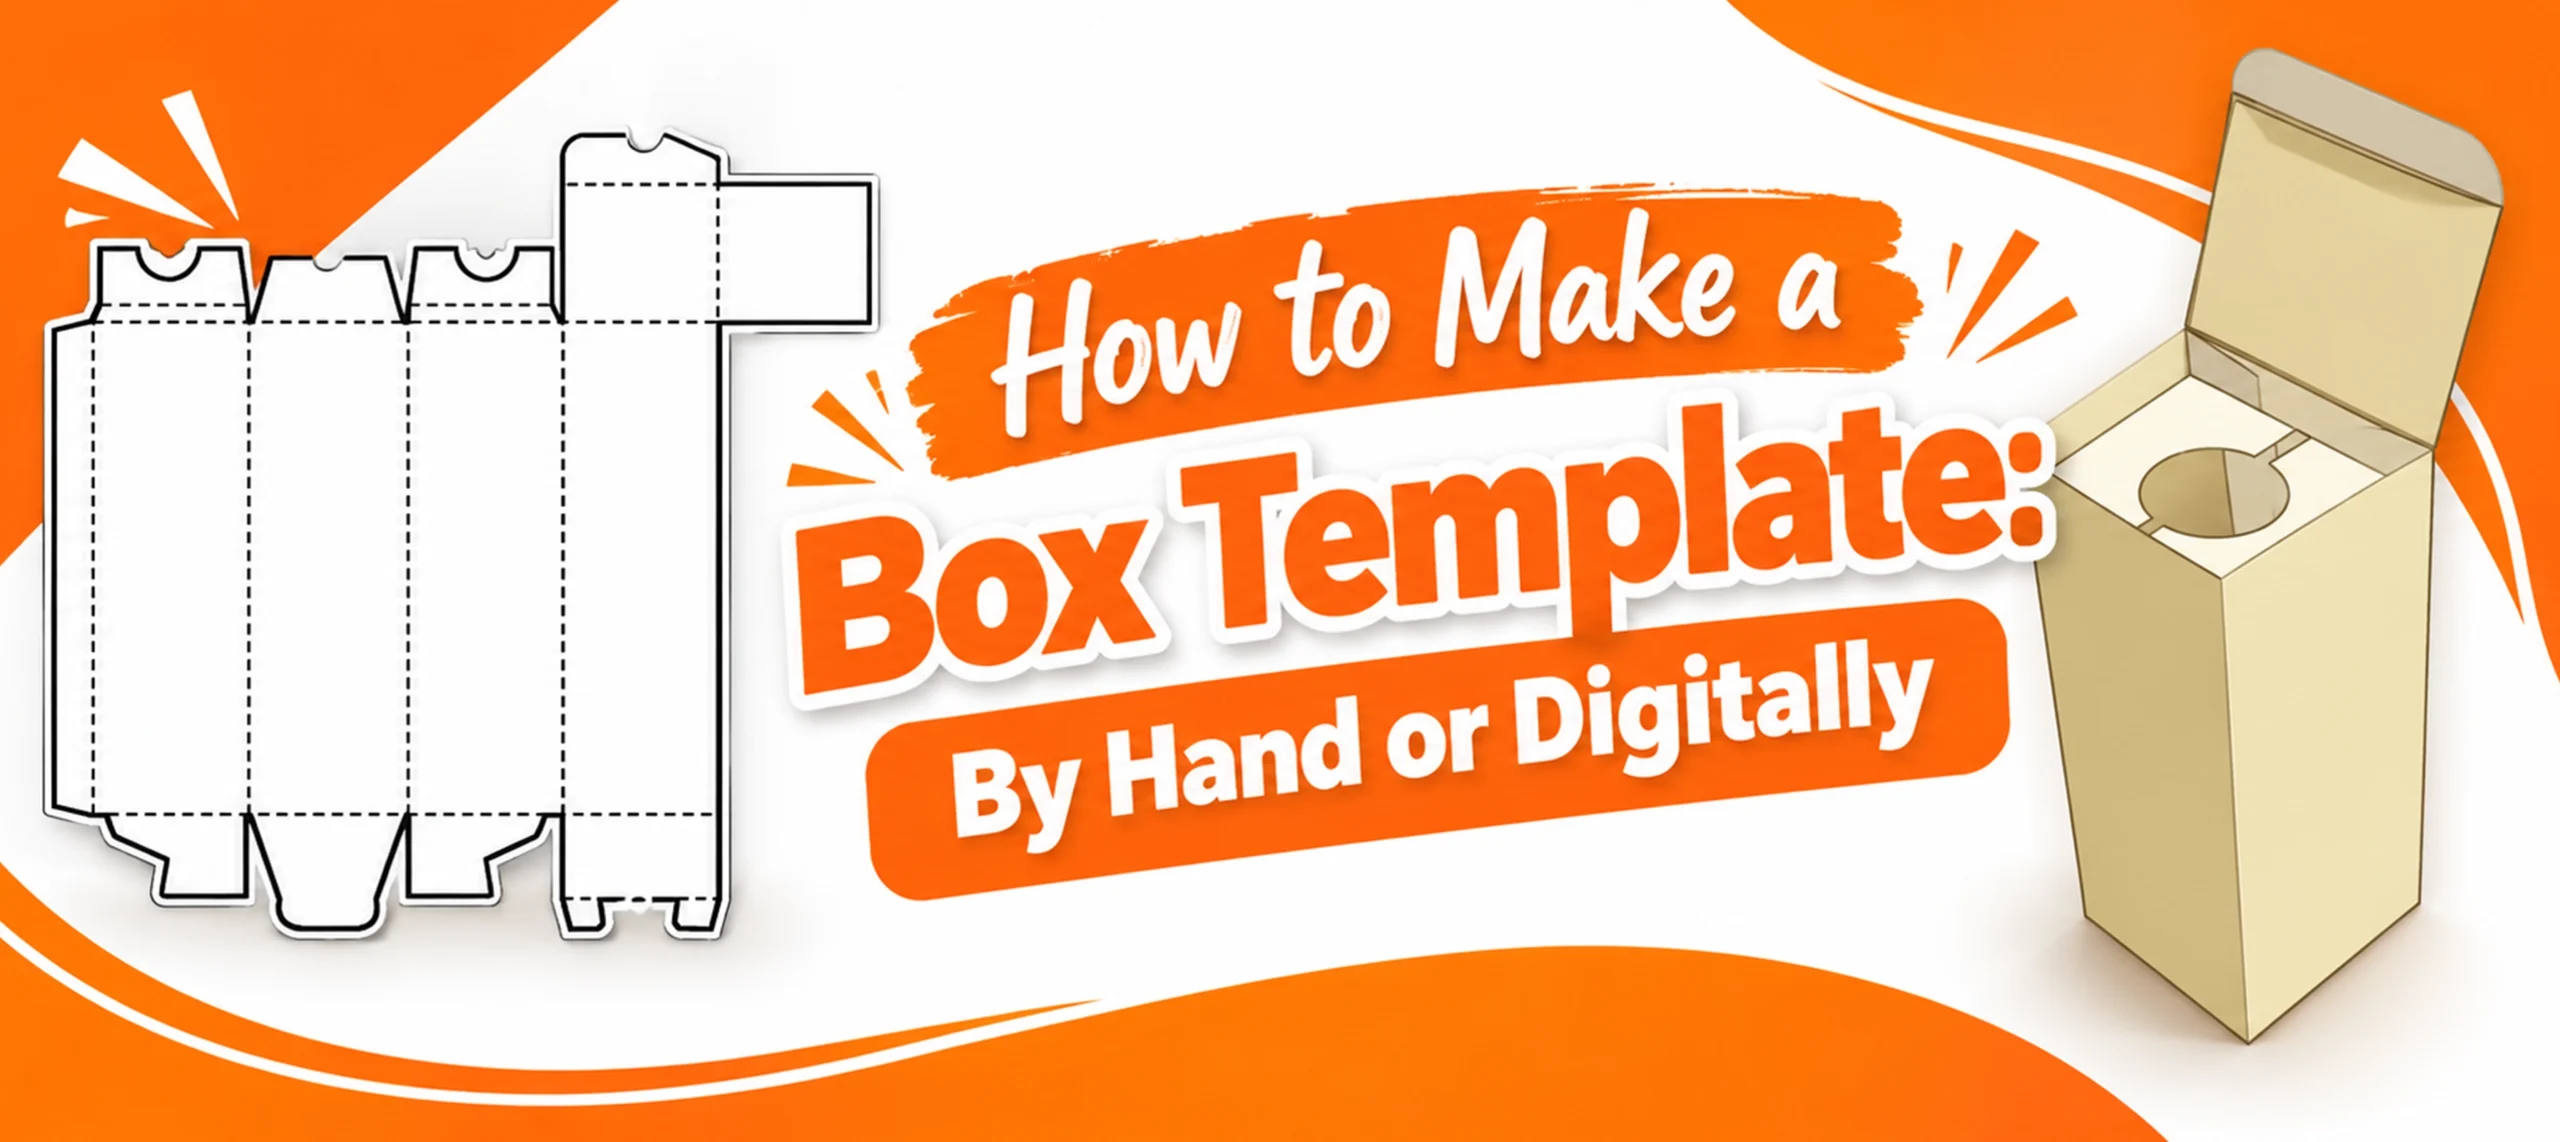
By A box template is a flat pattern that folds up into a three dimensional box. The fastest way to make one: measure what has to fit inside. Draw that shape flattened out on paper or cardboard. Cut and fold it to check the fit before you commit to anything permanent. You can build one by hand in a few minutes with a ruler and a pencil. Or build one digitally, if you want a file you can reuse and adjust. Once you are ready to move from a paper test to an actual manufactured box style, the file you need changes. That part comes near the end of this guide.
What a Box Template Actually Is
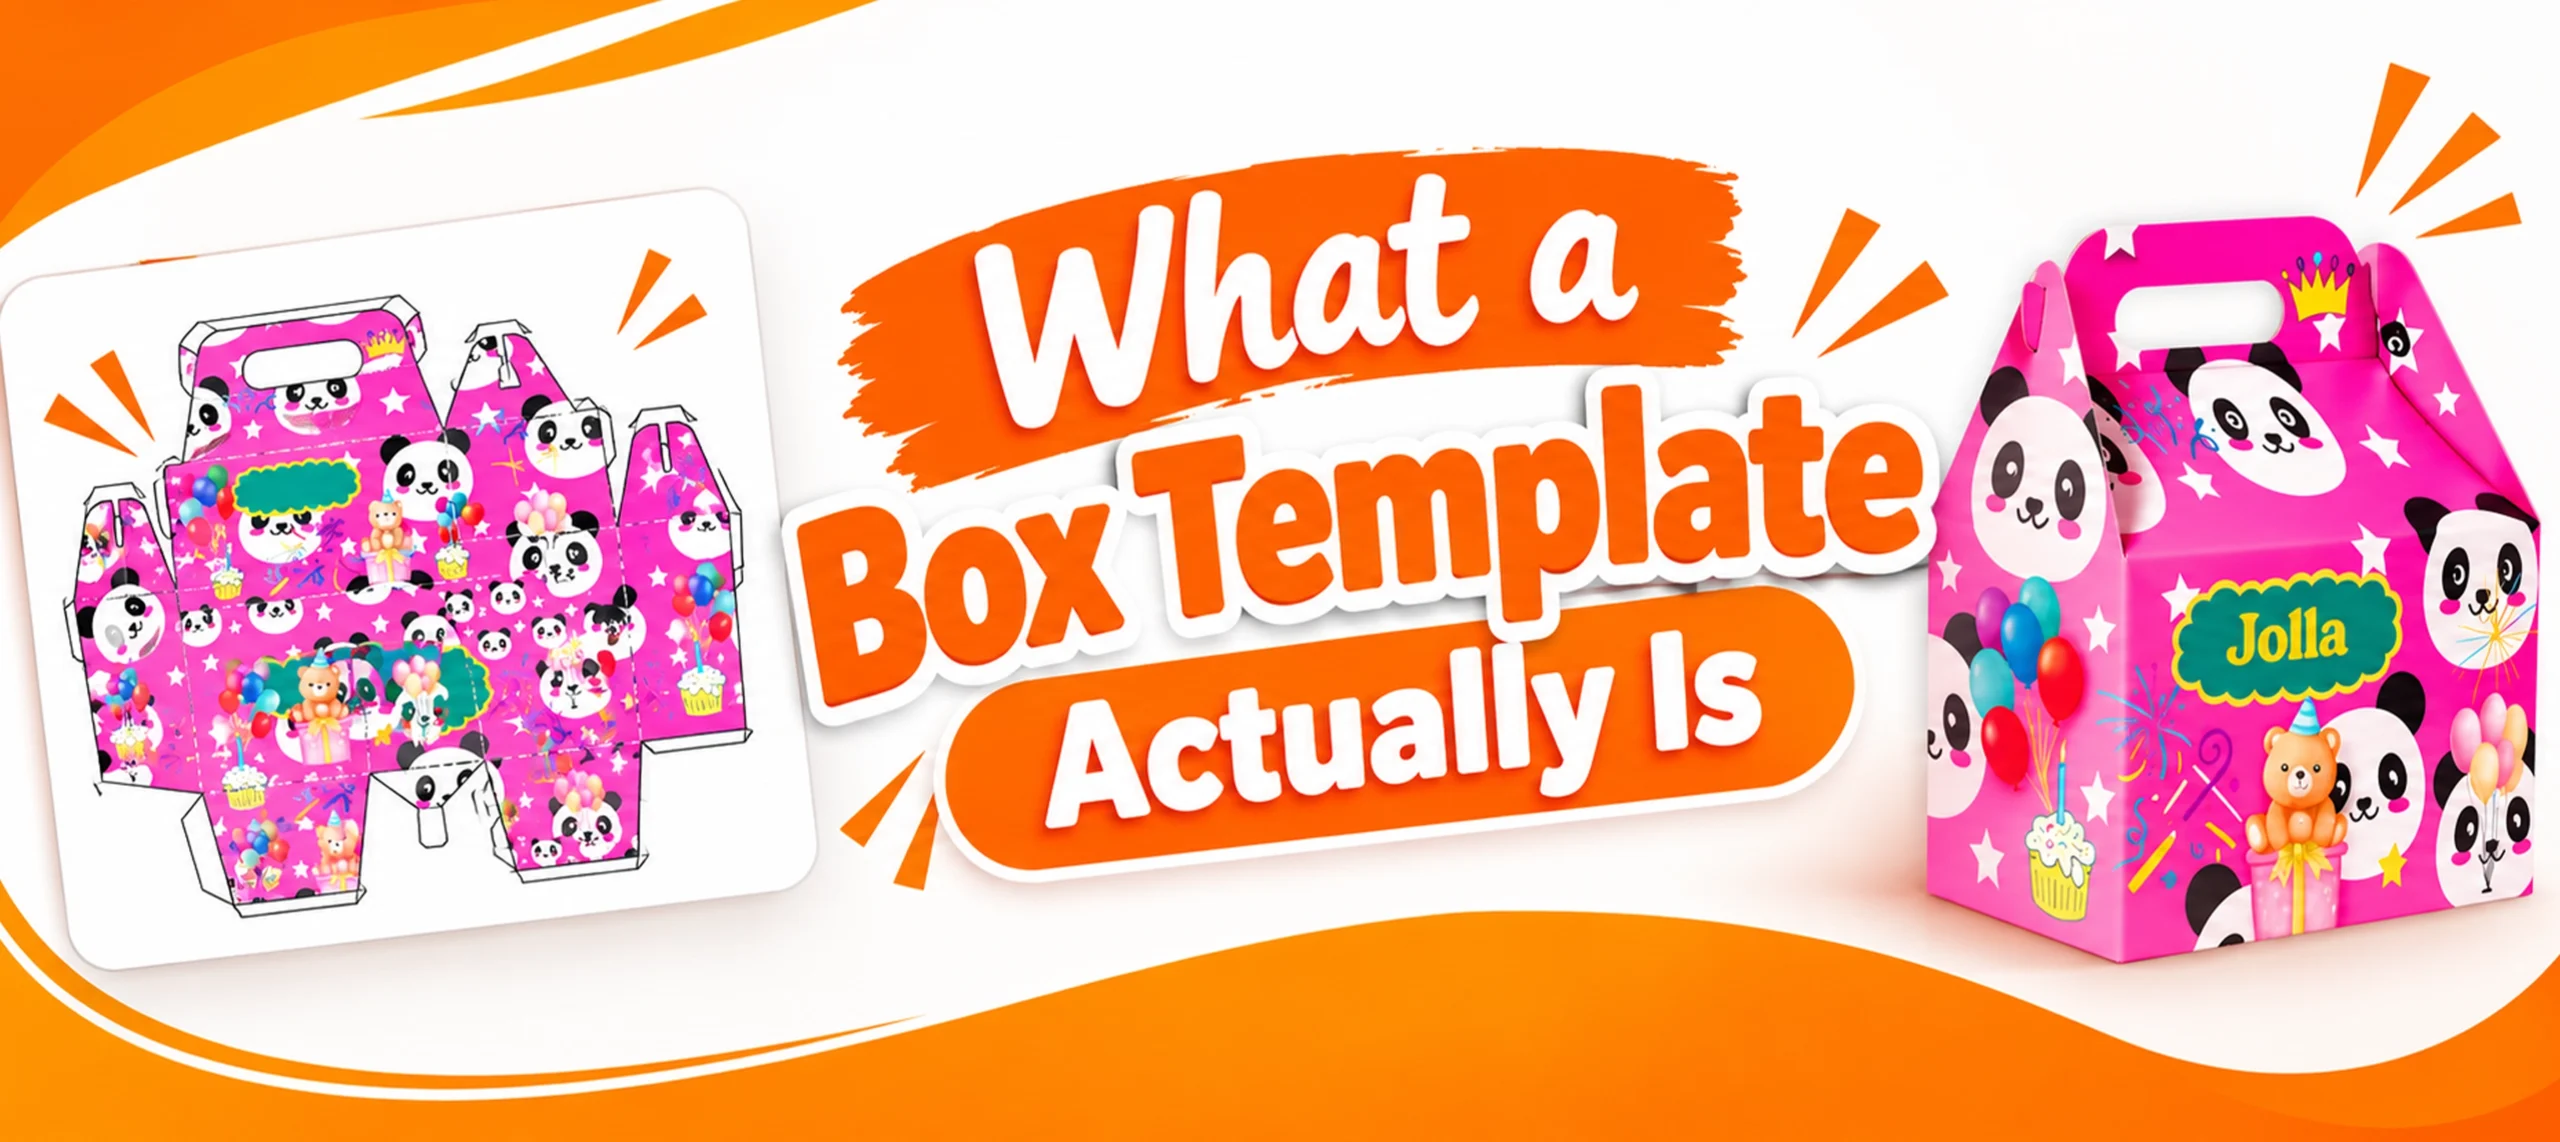
A box template is the same idea as something taught in basic geometry: a net.
The illustrated mathematics dictionary Math is Fun defines a net as “a pattern we can cut and fold to make a model of a solid shape.” A box is a solid shape. In math terms, a rectangular prism. Flatten it out along its edges. Lay every face down in one plane. That flattened pattern is the net. In packaging, it is simply called a template.
That is why a template always has the same two kinds of lines. Solid lines mark where the material gets cut. Those are the outer edges of the flattened shape. Dashed or dotted lines mark where it folds. Those are the internal edges between one face and the next. Every method below, whether you use scissors or design software, comes down to placing those two kinds of lines correctly.
Making a Template by Hand
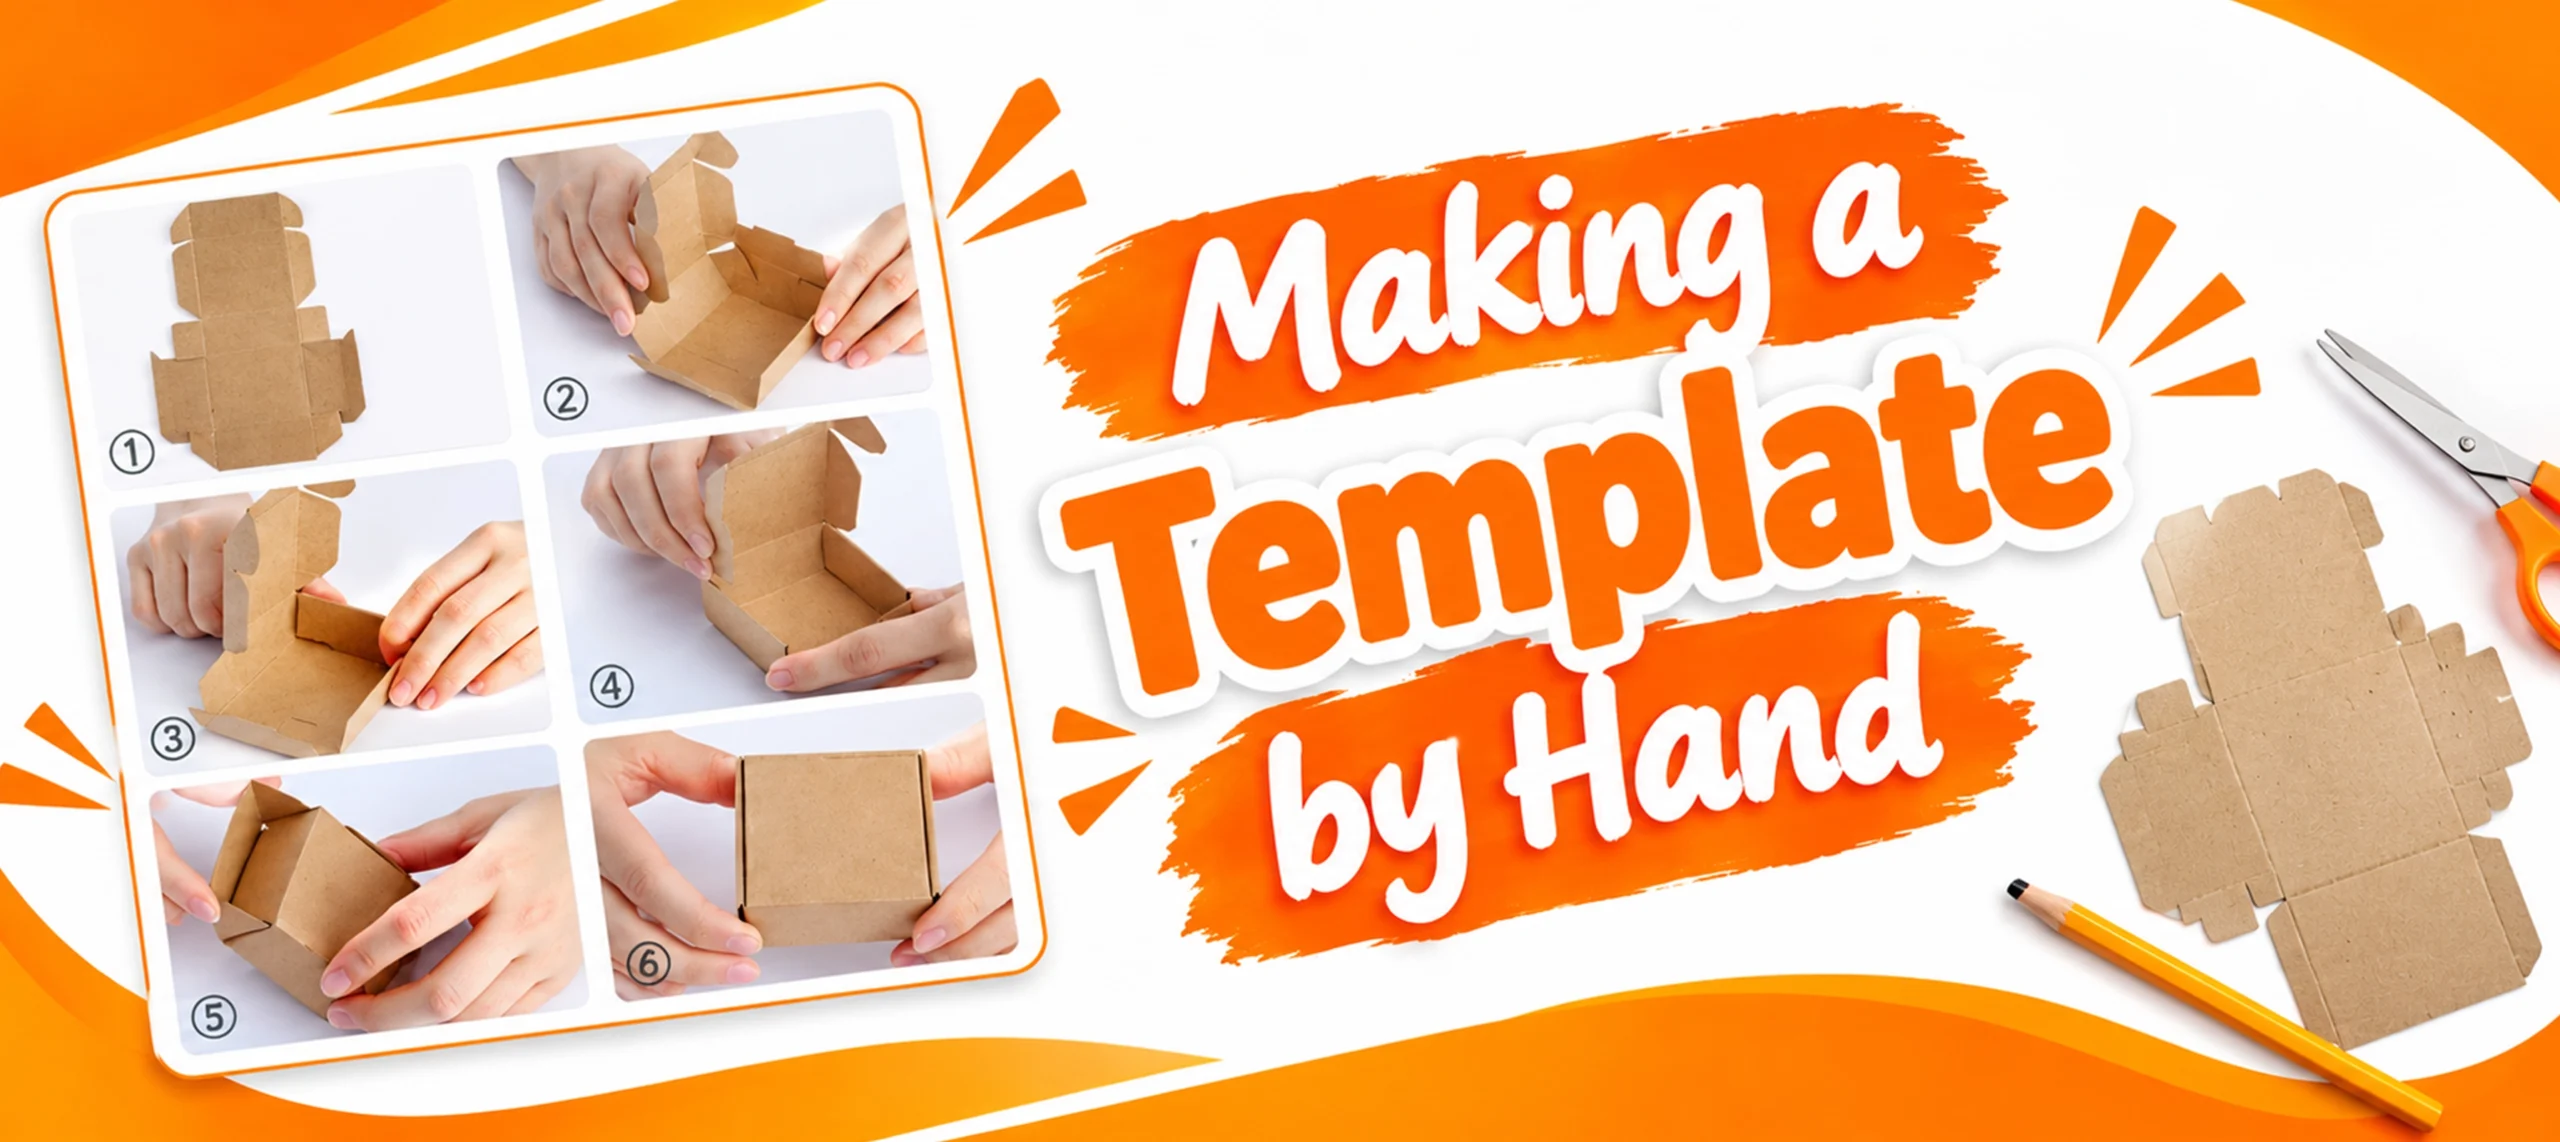
This is the fastest path, and it needs nothing beyond paper or thin cardboard, a ruler, a pencil, and scissors.
Start by measuring the product that has to fit inside, not by guessing at a box size. Note the length, width and height of the item itself, then add a small amount of clearance to each so the box is not a forced fit.
Draw the base rectangle first, using your length and width measurements. From each edge of that base, draw a matching rectangle using your height measurement. Fold outward on all four sides, like a plus sign or a cross. That cross shape is your net. Add a small tab, about half an inch, to one outer edge for gluing.
Cut along the outer solid outline of the whole shape. Score the fold lines before you fold them. Run the back of a scissor blade or a dull knife lightly along a ruler, rather than folding cold. A scored crease folds cleanly. An unscored one cracks the surface and folds unevenly.
Fold each panel up along its score line. Apply glue or tape to the tab, and press it against the matching edge to close the box. Test fit your item before you commit to a final version. This stage is exactly when a sizing mistake is cheap to fix.
Making a Template Digitally, for Free
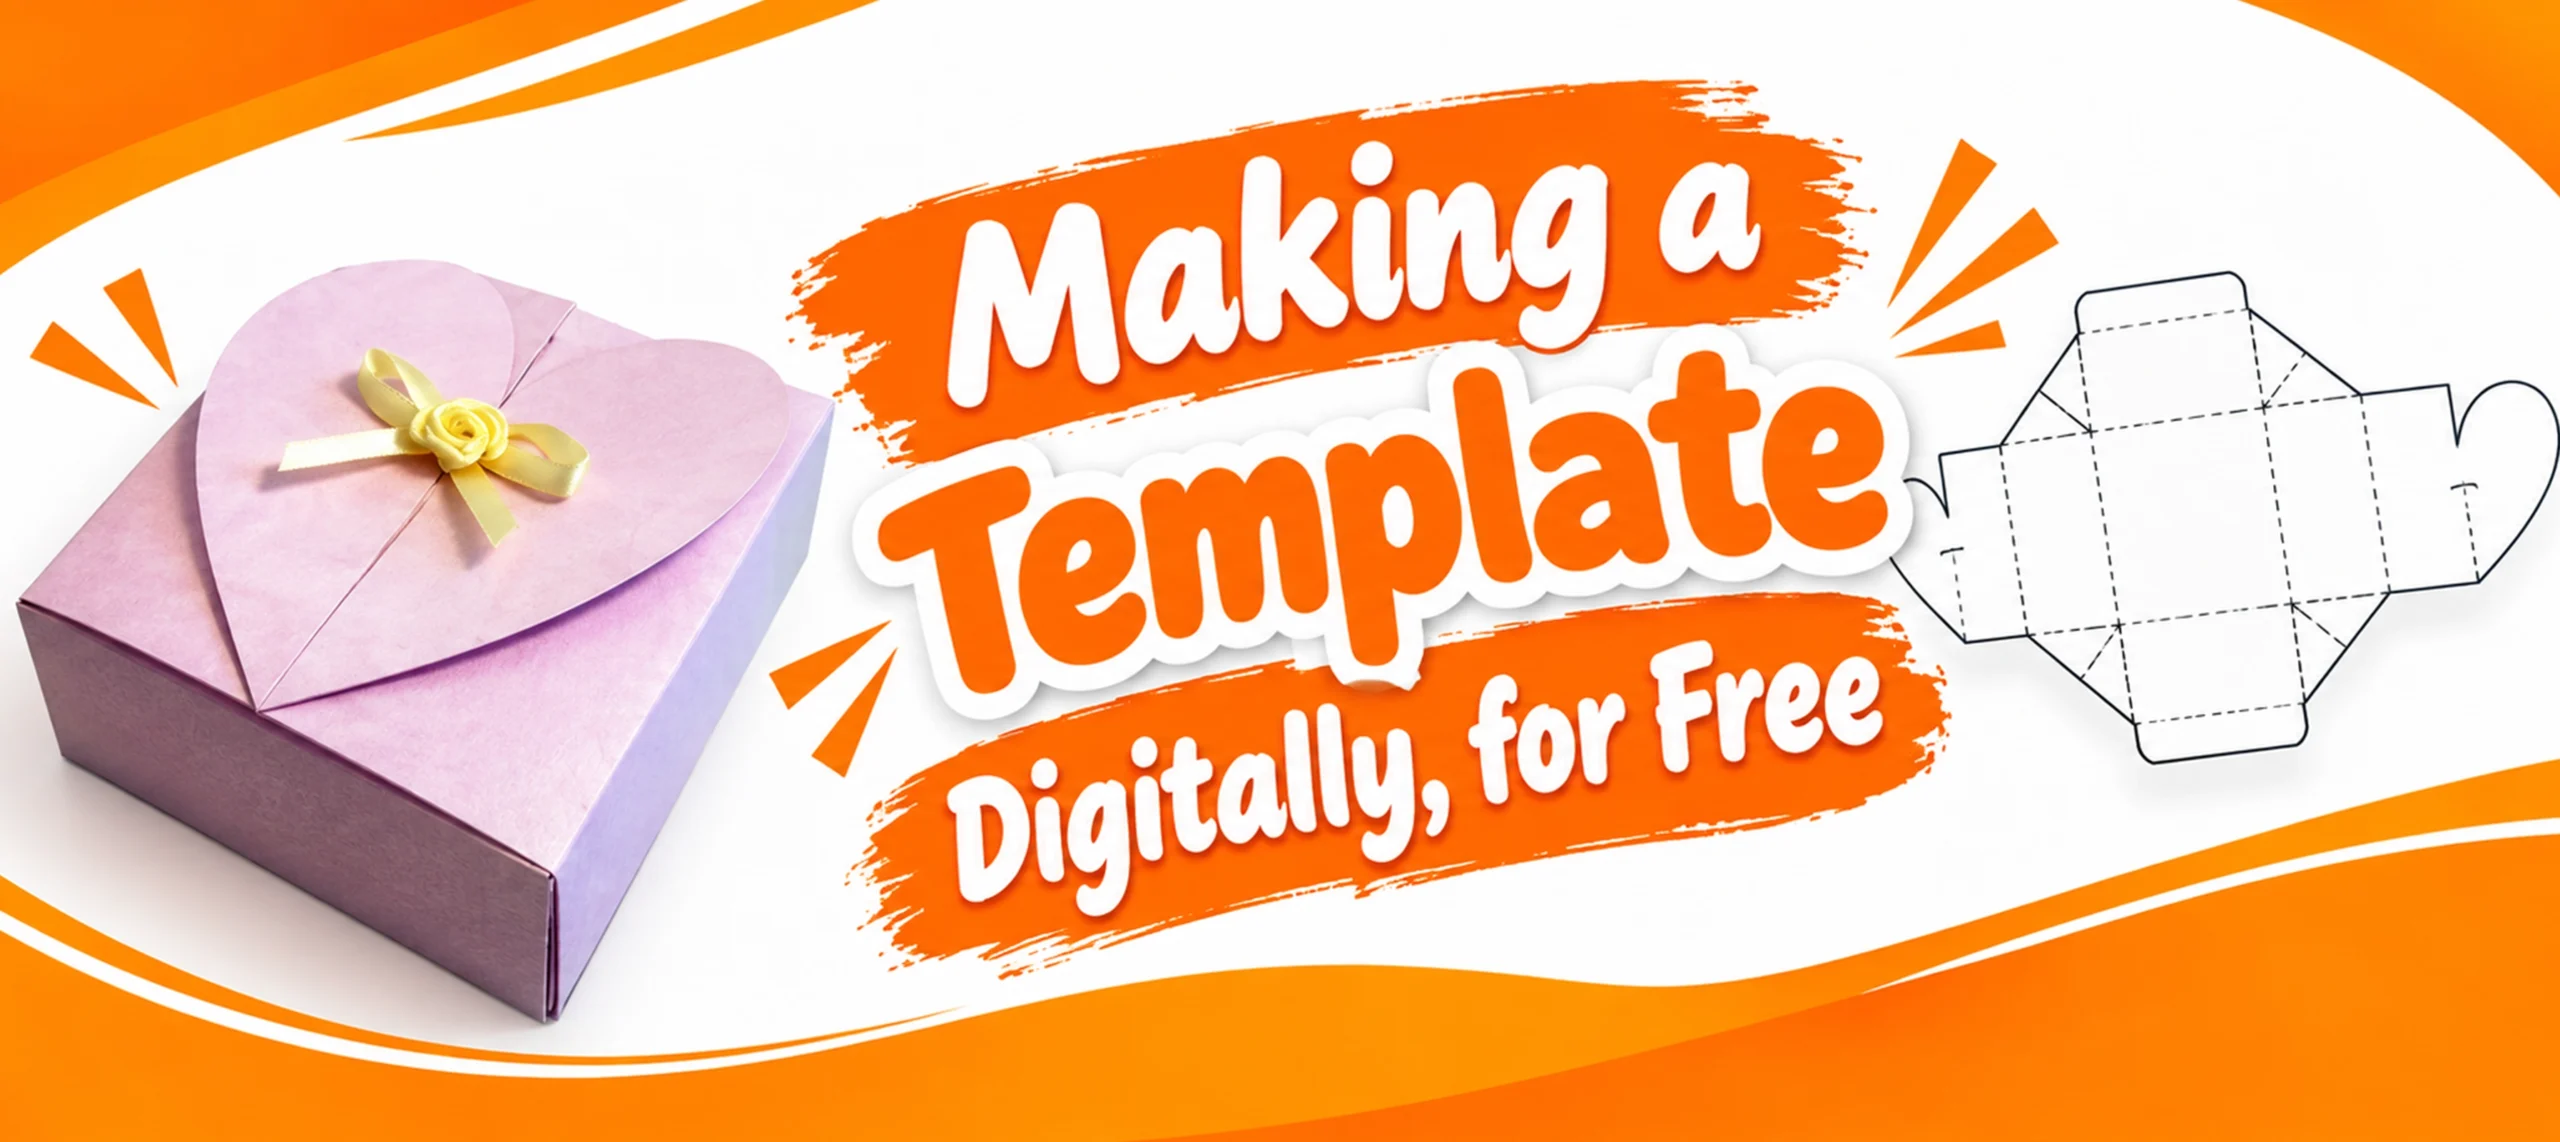
A paper template proves the shape works. A digital one lets you reuse it, resize it, and hand it off to someone else without redrawing everything by hand.
You do not need professional design software to start. Free browser based tools exist for exactly this. Enter your length, width and height. Choose a fold line style. The tool generates a downloadable file, typically an SVG, DXF or PDF. That covers most of what a hobbyist or small brand needs for a one off prototype or a batch cut on a home cutting machine.
If you already use Adobe Illustrator, the same net principle applies, built manually rather than generated. Draw the base panel first. Build the four side panels off its edges. Add top and bottom flaps. Keep cut lines and fold lines on separate layers so they stay distinguishable once you export. Set your document to CMYK if you intend to print on the piece at all. Colors shift when a file is converted from screen based RGB after the fact, rather than built in CMYK from the start.
Either path gives you a file, not a manufactured product. That distinction matters more than it sounds like it should.
Template Versus Dieline: They Are Not the Same Thing
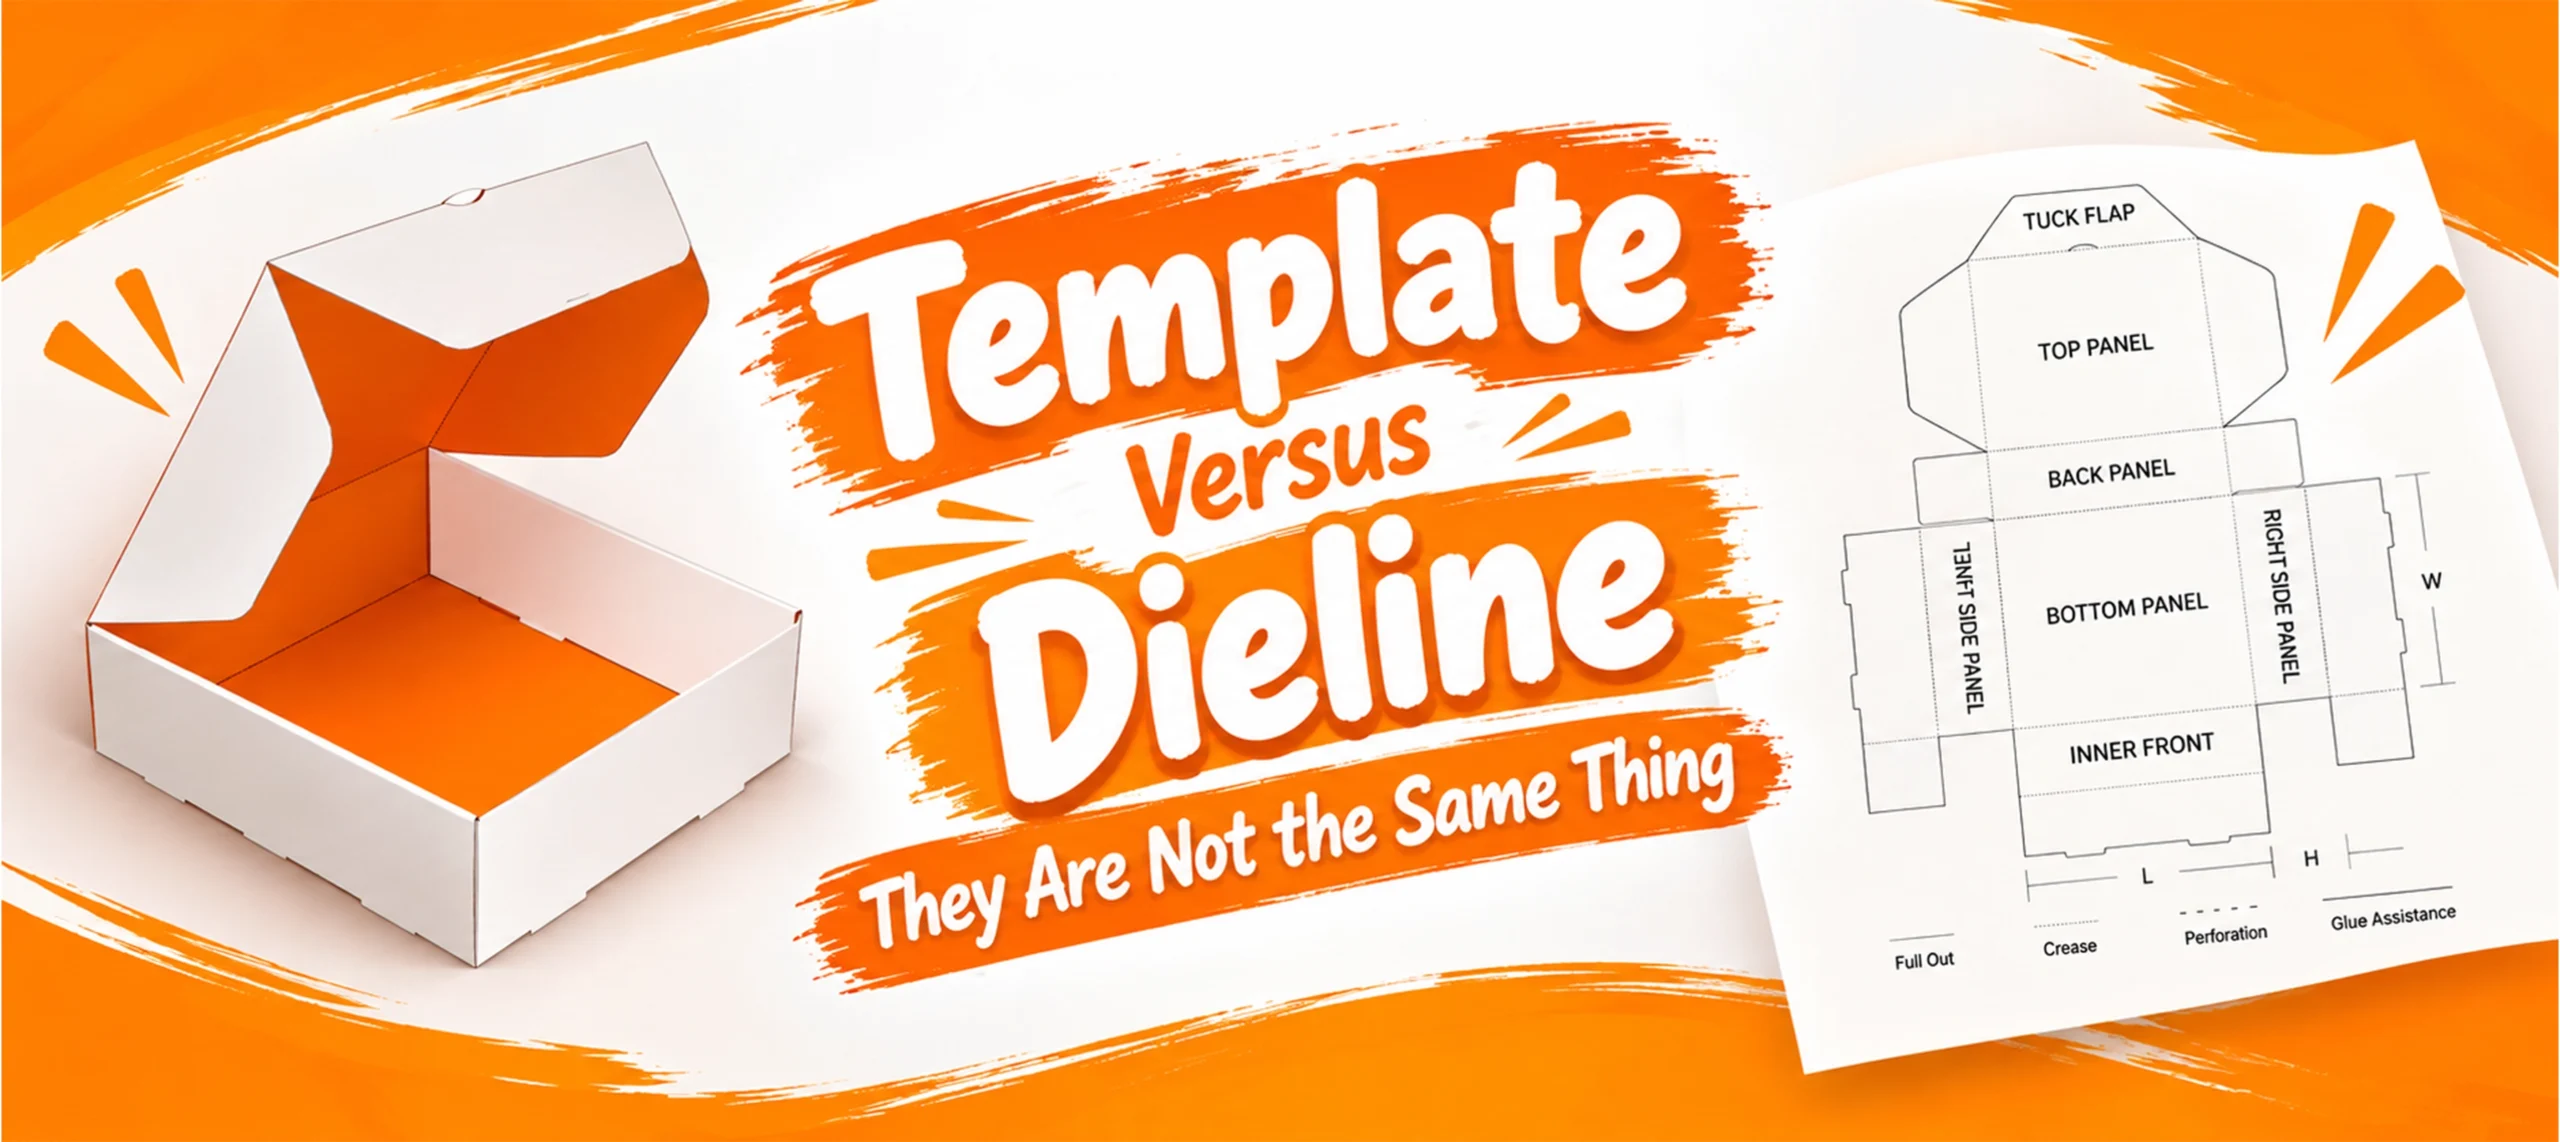
This is the point that actually matters once you are past the prototype stage, and it decides whether your file gets used or rejected.
A template, built by hand or with a free tool, is meant to prove a shape and dimensions. It is not built to a manufacturer’s tolerances. It does not account for material thickness at the fold. And it carries none of the production information a factory needs: bleed allowance, safe zones for text and logos, board caliper, file format standards for commercial printing.
A dieline is the professional version of the same underlying idea, a net, built to the standard a die cutting machine and a commercial press actually require. Once you know your box works as a paper prototype, the dieline is what your printer or manufacturer works from, not your original template.
Trying to submit a hand cut template, or an unadjusted digital one, as a production file is one of the most common causes of delay in a first custom packaging order. The shapes look similar. The tolerances and technical requirements behind them are not. A supplier will send it back for correction, rather than run a job against a file that was never built for a press.
If you are prototyping custom display boxes or something with several interlocking panels, this gap matters even more. Small errors compound across more folds than a simple box has.
Common Mistakes on Both Paths
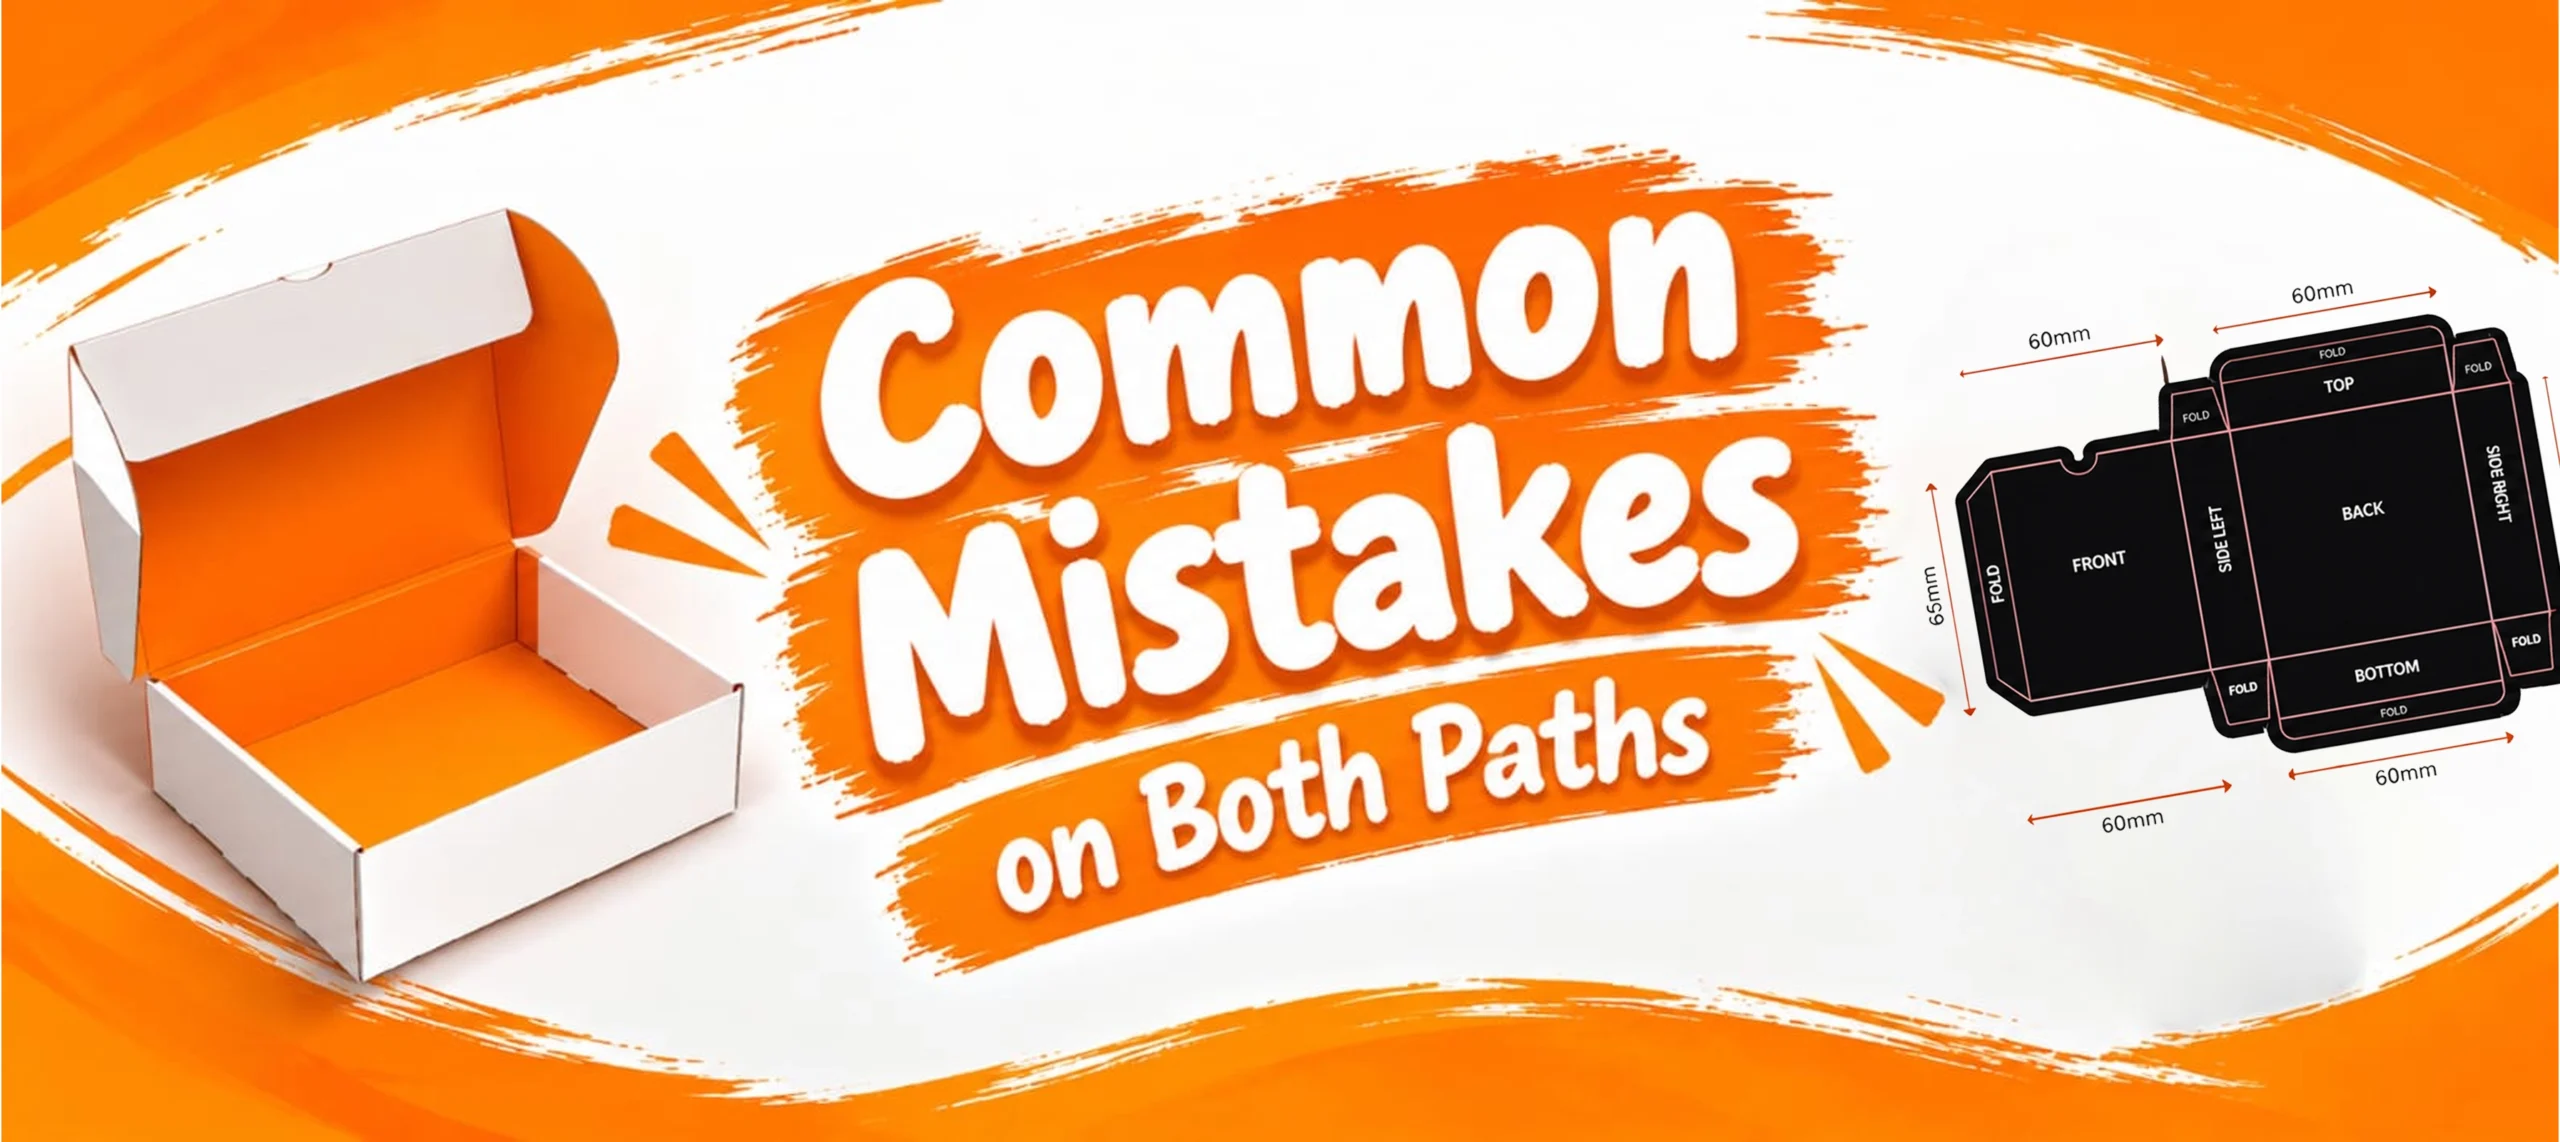
A few problems show up regardless of which method you use.
Skipping the score line before folding is the single most common mistake on a hand built template. It leaves a cracked, uneven crease instead of a clean one.
Sizing to the box you want rather than the product going inside it produces a template that looks right and fits badly. Measure the item first, every time.
Mixing cut and fold lines with no visual distinction, on paper or in a digital file, makes a template genuinely hard to read back later, including by you.
Forgetting a glue tab entirely is easy to do on a first attempt, since the flattened net does not make the assembly step obvious the way a finished box does.
Assuming a template built for a prototype is ready for production skips the step covered above, and it is the mistake that costs the most time once real quantities are involved.
When You Are Ready to Order
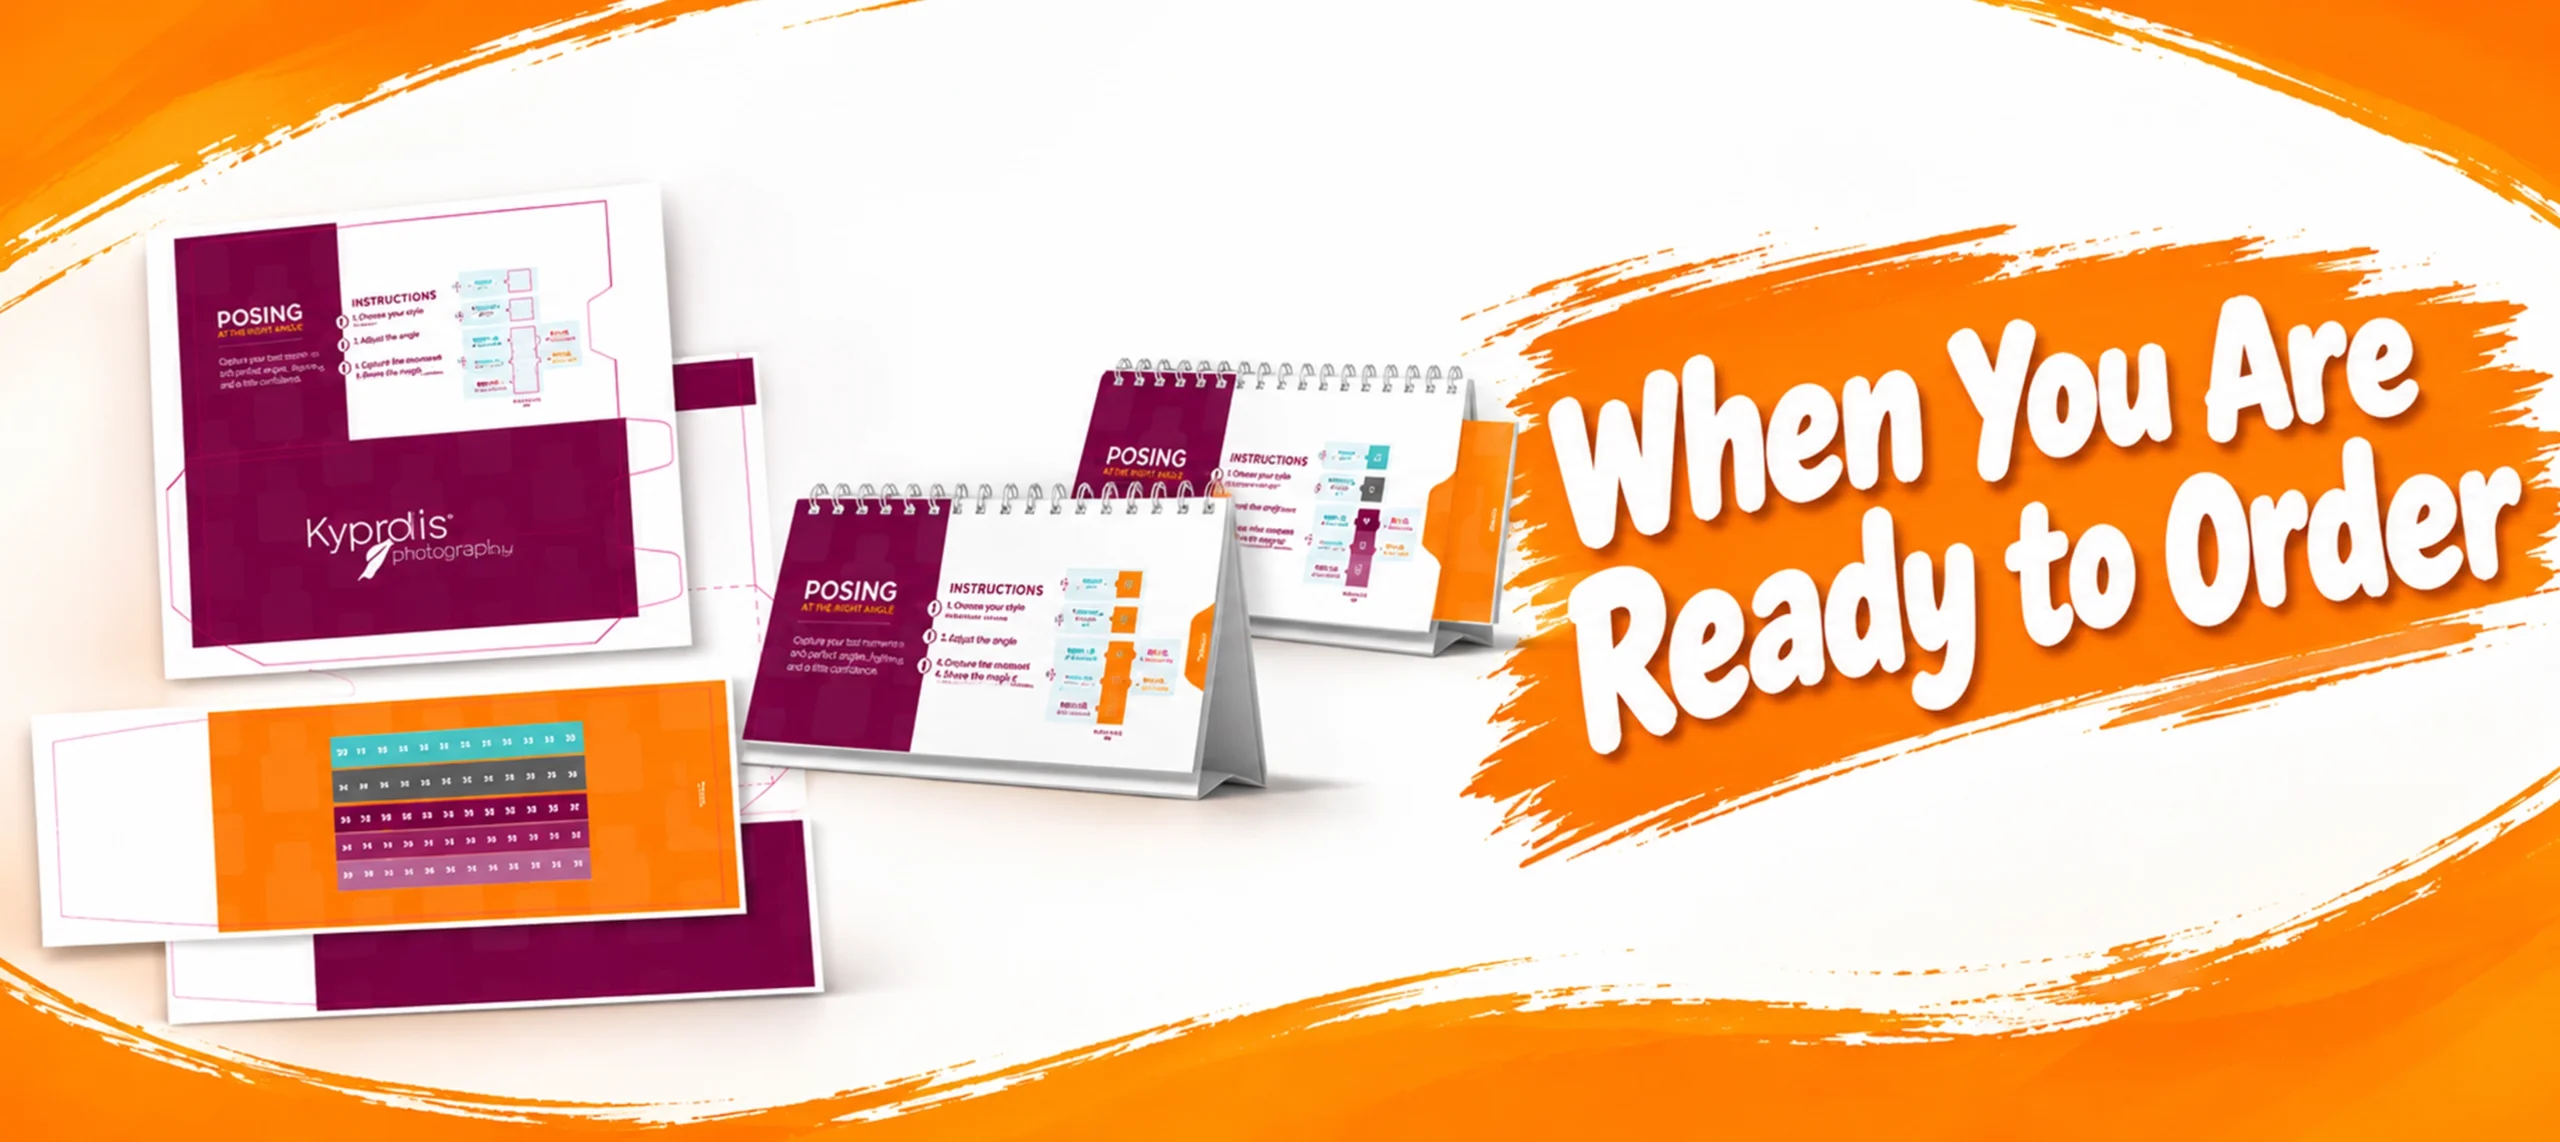
Once your paper or digital prototype proves the shape and fit, the next step is a professional dieline. It is built to your material and your manufacturer’s specifications, not a scaled up version of your original template.
At Custom Boxes Deals we manufacture in house rather than through third parties, and design support is free with no design fees. You get a free 3D mockup before production approval, and a real product video of the packaging before bulk production begins. So the gap between your prototype and the finished product closes before a full run happens, not after. Materials include kraft, corrugated, rigid board, SBS, cardstock, and more. We print CMYK, Pantone or PMS, or leave stock unprinted. Our minimum order is 100 units per design.
If your prototype needs a sturdier feel than a paper test can show you, custom rigid boxes and custom sleeves are worth looking at once you move past the shape testing stage.
Frequently Asked Questions
What is a box template?
A flat, cut and fold pattern that folds up into a three dimensional box. In geometry the same concept is called a net. Solid lines mark where the material is cut, and dashed lines mark where it folds.
Can I make a box template without design software?
Yes. A paper or cardboard template needs only a ruler, pencil and scissors. A digital one can be made with free browser based tools that generate a downloadable file from dimensions you enter, with no design software required.
Is a box template the same as a dieline?
No. A template proves a shape and a fit. A dieline is built to a manufacturer’s tolerances and carries production information such as bleed and safe zones that a template does not. A template is a starting point, not a production file.
What is the difference between a cut line and a fold line on a template?
A cut line, usually solid, marks the outer edge that gets cut away. A fold line, usually dashed or dotted, marks where the material creases to form the box. Confusing the two is a common cause of a template that will not assemble correctly.
Why does my hand folded template crack at the corners?
The fold line was not scored before folding. Score a line by running a dull blade or the back of a scissor lightly along a ruler before folding along it, rather than folding the material cold.
What file format should a box template be in?
For a simple prototype, SVG, DXF or PDF from a free template tool is enough. For an actual production order, your manufacturer will specify their own requirements, typically a vector PDF or AI file in CMYK, which is a dieline rather than a template.

Anthony Kim
Hello, I'm Anthony Kim, a seasoned packaging consultant and designer. With a professional journey spanning over four years, I've evolved from a budding designer to a recognized expert in the field. Currently holding the position of Packaging Consultant, I've honed my skills in creating not just visually stunning packaging but also solutions that align with strategic business goals.
View all articles →