Request Your Custom Quote
Tell us what you need. Our team normally replies within one business day.
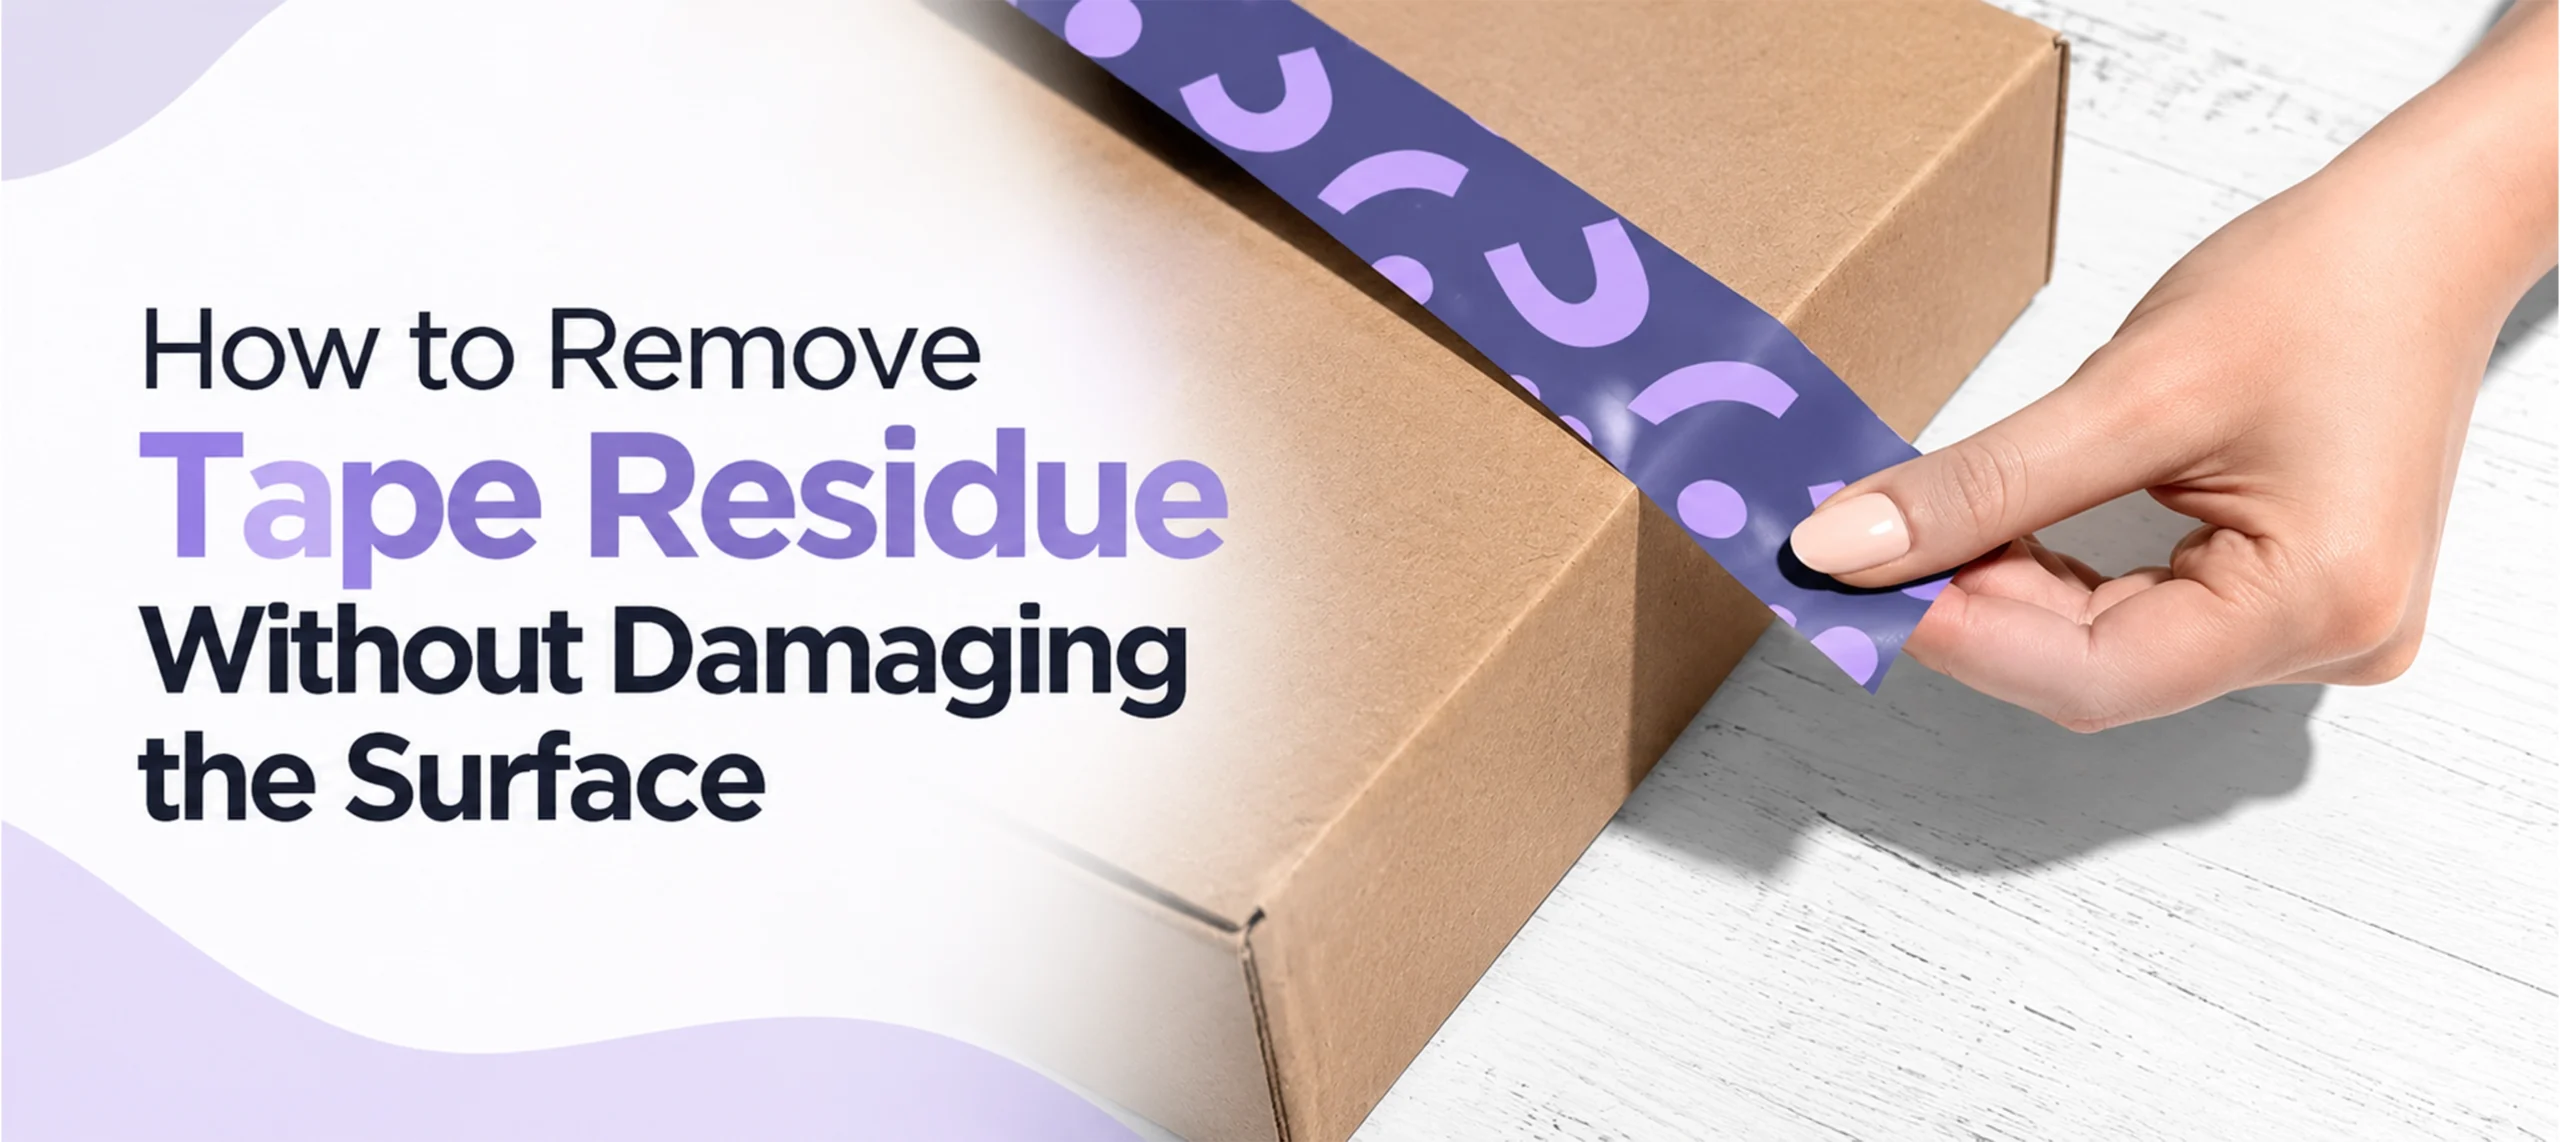
How to Remove Tape Residue Without Damaging the Surface
 By
By Here is how to remove tape residue without wrecking what is under it. Peel off what is left slowly while it is warm, then work up from the gentlest cleaner: warm soapy water, a little cooking oil, rubbing alcohol, a citrus adhesive remover, and acetone last. Two checks come first: know what the surface is, because some clear plastics are damaged by both acetone and rubbing alcohol, and never heat a spot that is still wet with solvent.
If the residue keeps landing on your own printed boxes, the fix starts before the tape goes on. Many box styles close on their own flaps, and the last section covers that.
Start With the Tape You Are Removing
Clear or tan box sealing tape is a plastic film with a pressure sensitive glue that grabs on contact. 3M’s data sheets for two of its own box tapes show two different glues. Scotch 371 uses a hot melt rubber resin, while Scotch 311 uses an acrylic. Both sit on polypropylene film. What stays behind is that same pressure sensitive glue, still tacky.
Paper gummed tape is different. 3M’s water activated tape 6146 uses a starch based glue that only turns sticky when wetted. It is not a pressure sensitive tape, so a damp cloth is a sensible first try on a hard surface.
Temperature matters too. 3M notes that the glue on Scotch 371 becomes firmer as it nears 32°F. If the tape has sat in a cold garage or truck, let it reach room temperature before you peel.
Work From Gentlest to Strongest

Test each step on a hidden spot first. 3M’s own removal guide gives the same advice for any adhesive remover.
- Peel slowly. For its adhesive films, 3M says slow removal leaves less residue. It also says the best angle varies from one film to another, so try low and high and keep whichever lifts more glue.
- Warm it. A hair dryer on low, held a few inches away, softens the glue. Lift the edge with a plastic card, not a metal blade.
- Roll it off. Rub leftover glue with your thumb or a clean eraser until it balls up and lifts.
- Warm soapy water. A drop of dish soap in warm water, a soft cloth, a few minutes of soaking. This is for hard surfaces that can get wet.
- A little cooking oil. Rub it in, wait a few minutes and wipe, then wash the oil off with dish soap. Keep oil off raw wood, stone and fabric, which soak it up.
- Rubbing alcohol. Dab it on and rub, after checking the plastics table below.
- A citrus based adhesive remover. In its film removal guide, 3M lists citrus based cleaners among its residue removers. Follow the label.
- Acetone. The strongest household option, and for glass or bare metal only.
Stop at the first step that works.
Plastic Is Where Solvents Go Wrong
Plastic is not one surface. Thermo Fisher’s chemical resistance guide, a manufacturer’s chart for lab plastics, rates each plastic against pure chemicals at 68°F:
| Plastic | Pure acetone | Pure isopropyl alcohol |
|---|---|---|
| Acrylic (PMMA) | Immediate damage may occur | Immediate damage may occur |
| Polycarbonate (PC) | Immediate damage may occur | Little or no damage after 30 days |
| Polystyrene (PS) | Immediate damage may occur | No damage after 30 days |
| PETG | Immediate damage may occur | Some effect after 7 days |
| Polypropylene copolymer | Immediate damage may occur | No damage after 30 days |
| Polypropylene | Some effect after 7 days | No damage after 30 days |
| High density polyethylene | Some effect after 7 days | No damage after 30 days |
| Low density polyethylene | Little or no damage after 30 days | No damage after 30 days |
Three things follow. Acetone is off the table for clear, rigid plastics like acrylic, polycarbonate, polystyrene and PETG. Acrylic is the one plastic here rated for immediate damage by pure isopropyl alcohol too, so rubbing alcohol is not a safe default for every plastic. And polyethylene holds up far better: no damage from alcohol after 30 days, and at most some effect from acetone after a week of constant contact.
The chart tests pure chemicals left in constant contact, which is harsher than a quick wipe. It is still the best guide to which way the risk runs. If you cannot tell what a clear plastic is, treat it as acrylic. Use soapy water, oil and patience, and skip both solvents. That goes for a clear window on a display box as much as for a sign holder.
Go easy with heat here as well. In its removal guide, 3M caps heat at 100°F for two named plastic window products. Keep the hair dryer on low and moving.
Other Surfaces at a Glance
| Surface | Start with | Can step up to | Watch out for |
|---|---|---|---|
| Glass | Plastic scraper and soapy water | Rubbing alcohol, then acetone | Metal blades on coated or tinted glass |
| Bare metal | Heat and a plastic card | Rubbing alcohol, oil, acetone | Acetone on painted or lacquered metal |
| Painted walls and painted metal | Heat and a slow peel | Soapy water | Solvents, which can soften paint |
| Finished wood | Heat and a plastic card | A cloth lightly damp with oil | Acetone and alcohol on the finish |
| Raw wood | Heat and a careful scrape | Very little, test anything | Oil and water, which soak in |
| Fabric | Ice in a bag to harden the glue, then scrape | Soapy water | Oil, which leaves a grease stain |
| Marble and limestone | Heat and a plastic scraper | pH neutral stone cleaner | Vinegar, lemon or any acid |
Stone deserves its own warning. The Natural Stone Institute says products containing lemon, vinegar or other acids may dull or etch calcareous stone, which is mostly calcium carbonate. USGS describes marble as calcite crystals and limestone as calcium carbonate. So skip vinegar on either one, because it may dull or etch the surface.
Never Heat a Spot That Is Wet With Solvent
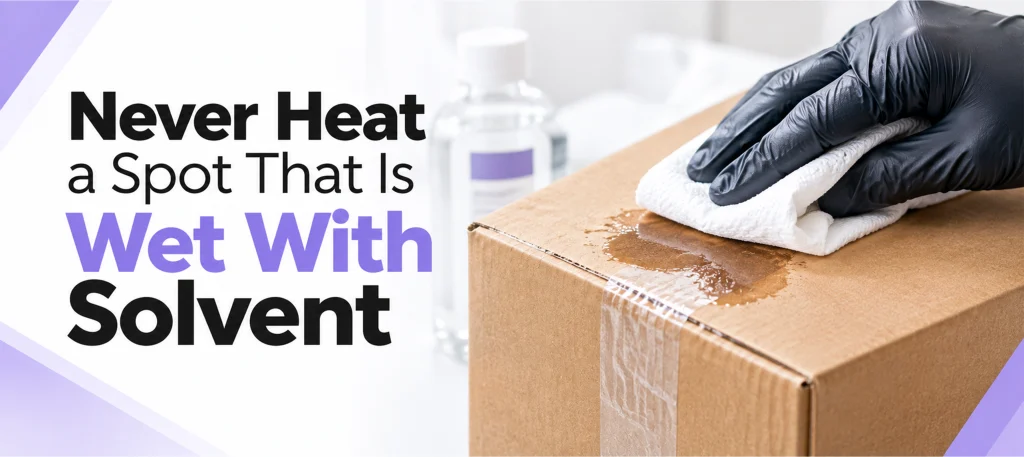
Heat and solvents are both on the ladder above, and stubborn glue tempts people to use them together. Do not.
A flash point is the lowest temperature at which a liquid gives off enough vapor to catch fire. The NIOSH Pocket Guide lists acetone’s flash point as 0°F. Isopropyl alcohol’s is 53°F. Both are below room temperature, so a heat gun over a rag soaked in either one is a fire risk.
The same goes for spray lubricant. WD 40’s US safety data sheet for its Multi Use aerosol, the California compliant version revised in November 2024, classes it as extremely flammable. It says to keep the can away from heat, hot surfaces, sparks and open flames.
So pick one: use heat, or use a solvent. If you need both, let the solvent dry and the room air out first. Work with a window open, and wear gloves for anything stronger than soap.
Saving a Cardboard or Printed Box
Cardboard soaks up liquid, so solvents and water are mostly out. Warm the tape with a hair dryer and peel it back slowly, and if a sticky patch is left, press a fresh piece of tape onto it and lift. Repeat until it stops pulling up glue. A clean eraser also works on plain board.
Printed boxes need extra care, because a solvent can lift ink or a coating along with the glue. Test on an inside flap before touching the artwork. If the box is going back on a shelf, a little residue left in place is often better than a smudged panel.
Keeping Residue Off Your Own Packaging
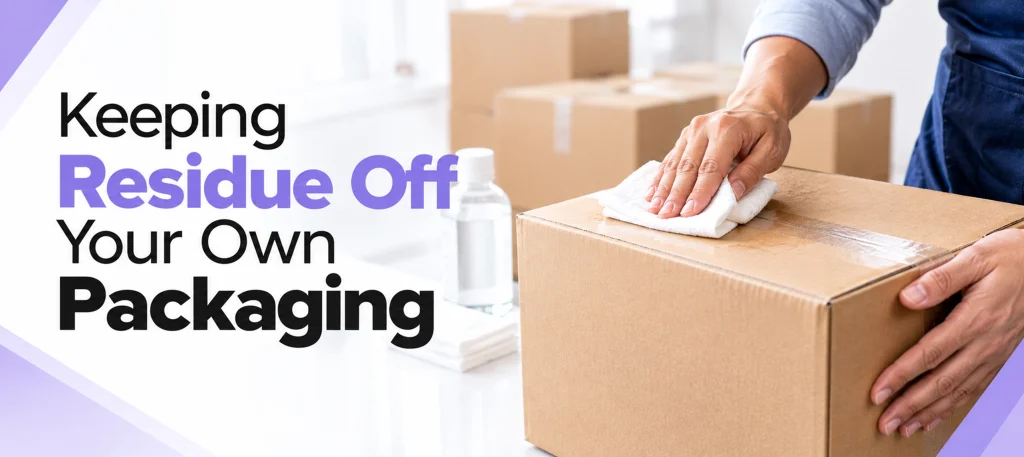
For a brand, the easiest residue to remove is the kind that never lands. A few habits at the packing table make most of the steps above unnecessary.
- Keep tape off the printed faces. Ship a retail box inside a plain outer carton, and tape the carton instead.
- Let the box close itself. Tuck end and mailer structures close on their own flaps. Whether a given style still needs tape depends on the style and the load, so check it for each one.
- Hold it closed without glue on the print. Custom sleeves slide over a box and keep the lid in place.
- Seal at one point, not across the artwork. A box seal sticker marks a single closing point. It is still an adhesive, so place it where a mark will not matter. The wider range sits under custom stickers.
- Skip adhesive on glass. For shop window messages, a static cling grips smooth glass by static rather than glue.
- Use low tack tape for anything temporary.
Frequently Asked Questions
Does WD 40 remove tape residue?
It can. The safety data sheet cited above lists hydrocarbon solvents and petroleum oil as its ingredients, which is why people use it on sticky glue. Wash the oily film off with dish soap afterward. It is also extremely flammable, so never use it near heat. Its effect on each plastic is not in the chart above, so test it on a hidden spot.
Can I use nail polish remover on plastic?
Check the label. If it contains acetone, keep it off acrylic, polycarbonate, polystyrene and PETG, all rated for immediate damage by pure acetone. Some removers are sold as acetone free. Their solvents are not covered by the chart, so test them too.
What is the fastest way to get tape residue off glass?
Scrape the bulk off with a plastic scraper held flat, then wipe with soapy water. Rubbing alcohol clears the last film. Acetone is also safe on bare glass.
Why does tape tear into small pieces when I peel it?
Cold can do it. 3M says the glue on its Scotch 371 box tape firms up near freezing, and its removal guide says its graphic films turn brittle in the cold and break into small pieces. Warm the tape before you peel.

Anthony Kim
Hello, I'm Anthony Kim, a seasoned packaging consultant and designer. With a professional journey spanning over four years, I've evolved from a budding designer to a recognized expert in the field. Currently holding the position of Packaging Consultant, I've honed my skills in creating not just visually stunning packaging but also solutions that align with strategic business goals.
View all articles →